|
Article - Technical Tip
Making Buildings Stand Up
Straight
You will have noticed that
when we photograph buildings from up close they have a tendency to look as if
they are sloping backwards and perspectives can get corrupted.
The result is that the image
slopes in at the top, is shorter, and with angle shots may give weird views and
impressions.
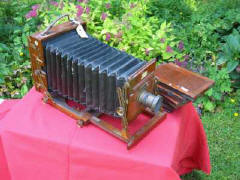
| From early plate cameras
through the folding roll film camera period, this problem was overcome by being
able to lift the lens at the front of the camera, allowing us to keep the camera
level, and still get the image in the right position. In addition many also had
the potential to tilt the lens at any angle when needed, allowing greater areas
to be in focus, as well as changing perspective. So time has moved forward,
technology advanced considerably, but routinely we cannot do what the owner of
either an early plate camera or a later folding camera could do.
|
   |
|
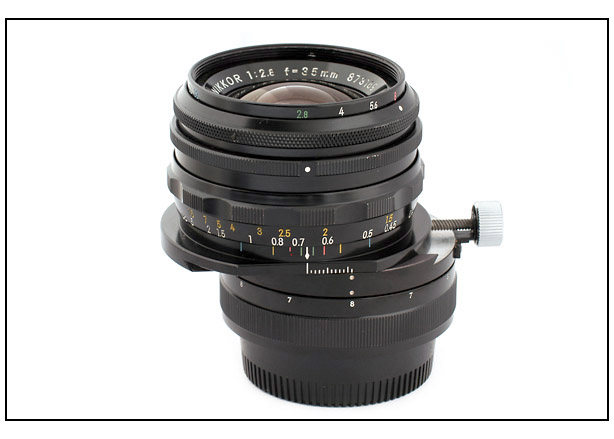
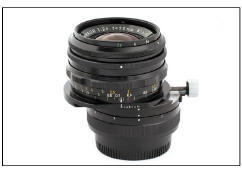
There is a technology based
way to achieve this in some cases, that has been around for decades and used by
generations of 35mm photographers, and this is with a perspective control lens.
Early ones took a simple approach of a lens with greater coverage that just slid
upwards in a mount some however became more complex using both a sliding and a
wedge that tilted the lens up. PC lenses standing for a Perspective Control
lens, also known as tilt and shift lenses or when they only slide, a shift lens,
the shift is the sliding upwards and the tilt is in effect the bending of the
lens. There were, some time ago, a range of Nikon manual focus PC lenses, that
achieved this, that developed over the years, but they have not been produced
for some time. More recently we had the option of a 85mm macro lens that had a
perspective control to allow the lens to focus over a larger distance range,
although this has recently disappeared from the UK Nikon website, it can still
be found on the global site. |
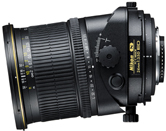
| At the end of January
(2008) the first of a new family of PC lenses were announced, this has a shift of
up to 11.5mm up or down and a tilt of up to 8.5 degrees up or down with a D3, less
with other models, plus can be rotated up to 90 degrees in either direction, so as to use this
in many angles if not
all. The PC-E Nikkor 24mm F3.5D ED, available in theory from March, with
a recommended price of £1,099.99, suitable for architectural photography down to
macro with a ratio or 1:2.7. It should work with all digital cameras, but we
need to check this out for the D80 and below. |
 |
The tilt and shift is
limited to a smaller amount with all except the D3, and an electronic aperture
feature works with only the D3 and D300. This lens has a button stopping it
down, similar to a normal lens when you have the depth of field button pressed,
and remains like this until pressed again. Shift and tilt
movement are at right angles. The two operations can be modified for a surcharge, to move in the
same [parallel] direction. The shift lock release knob can also be
changed for a larger one, but the changed knob may affect mounting the lens to
the camera or lens operation. It is manual focus. Two more PC lenses
will be available also soon the PC-E Nikkor 45mm f2.8D ED, and PC-E micro Nikkor
85mm F2.8D. We don’t have details of these yet.
Older Nikon shift lenses can
be purchased from eBay and elsewhere and you will find one from around £150,
however as most are at 35mm, with a few at 28mm, they are not as wide as the
new 24mm. They vary by area, features and maximum aperture. You can also use a
shift lens sideways to take panoramas that are somewhat simpler than using a
panorama head, although limited in width.
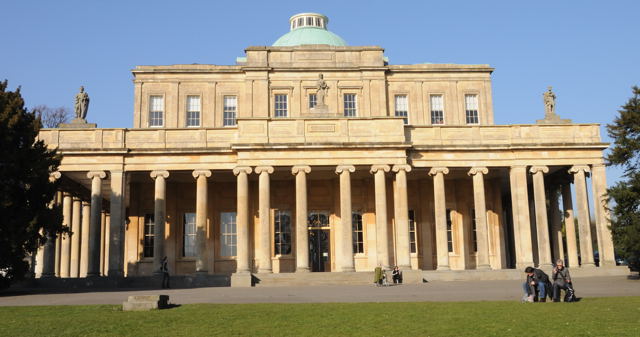
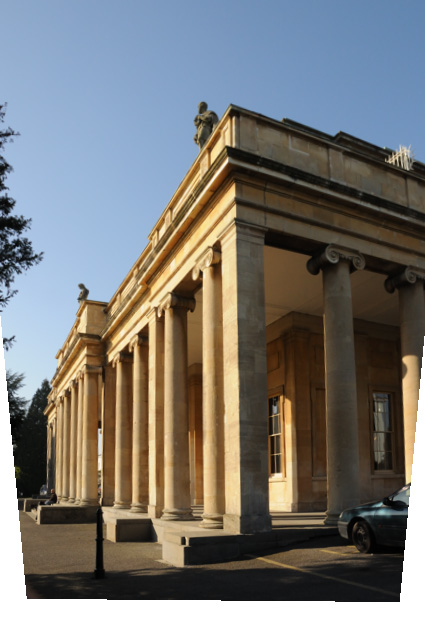
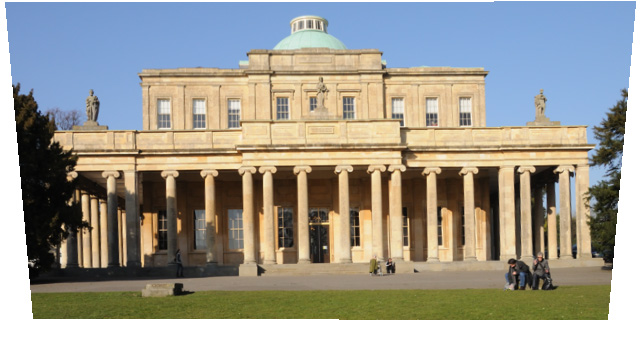
In the two examples above we
have used Photoshop Elements to correct the perspective in part, and normally
this would be done before sectioning, in this case we have left the image
unsectioned so you can see the effect that has taken place.
However this is not always
as simple as it sounds especially when other items are in the photograph and are
further away. So you may find you need to cut out the building, and deal with
the perspective of this separately, from some or all of the background. This is
often achieved best when slightly under done so you have a very slight tapering,
and you have to avoid going too far and making it look completely unnatural.
This does not overcome the problem of depth of field as the distance to the top
of the building is always far more than from the base, however the depth of
field with wide angle lenses is large so you should be able to focus so as to
get the entire building in focus.
| A simpler solution is to
keep the camera level and use a wide enough angle that the building can be fully
included without the need to tilt the lens up. If the building is not too tall
this may be a practical way, allowing you to then crop the images removing the
unwanted lower foreground. Given that your camera will produce an image far
larger then you wish to print out, this can be achieved. If the cropping is
extreme you might want to turn the camera into portrait mode and then crop out
of this a view image.
|
 |
|