| Home | Newsletter | Locations | Diary |
|
Indexes |
|
|
|
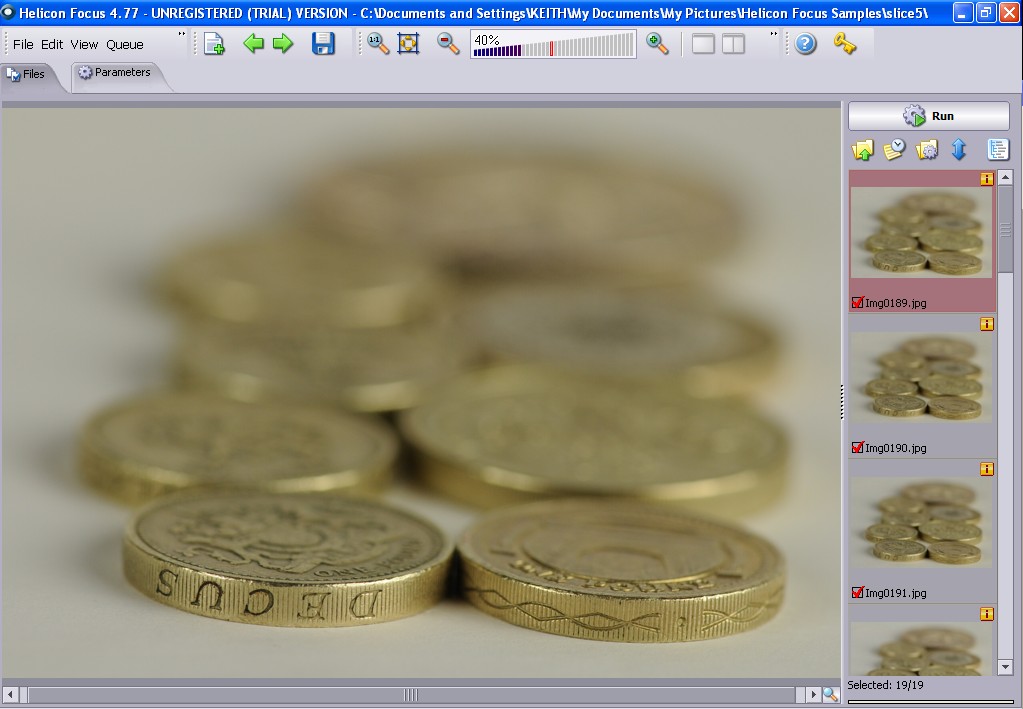
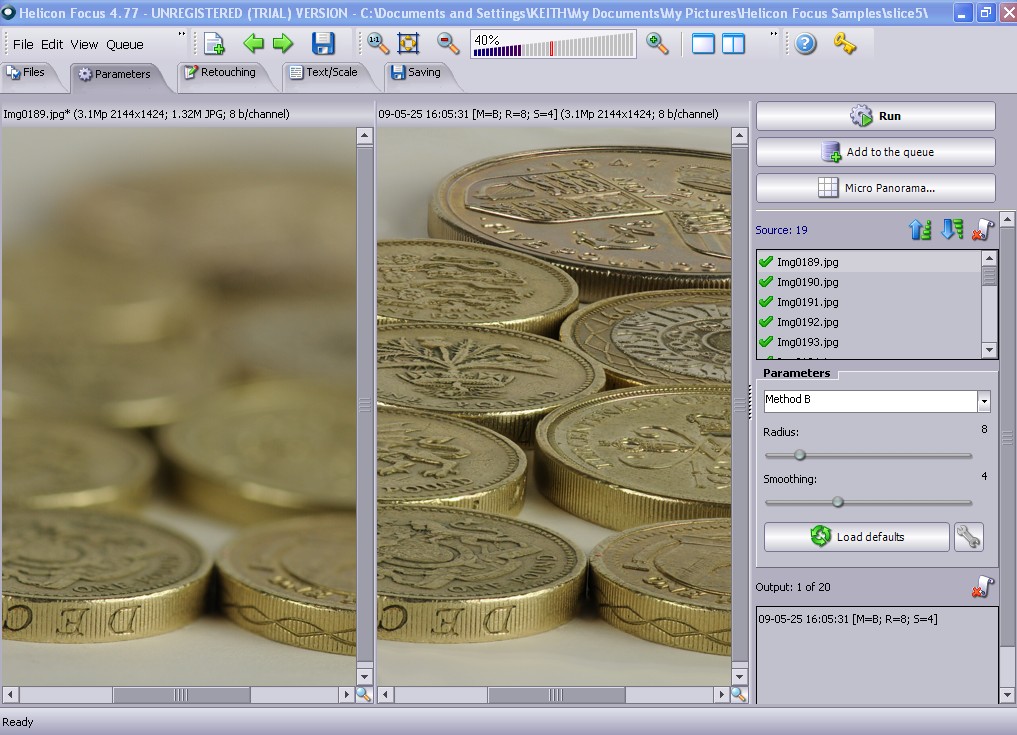
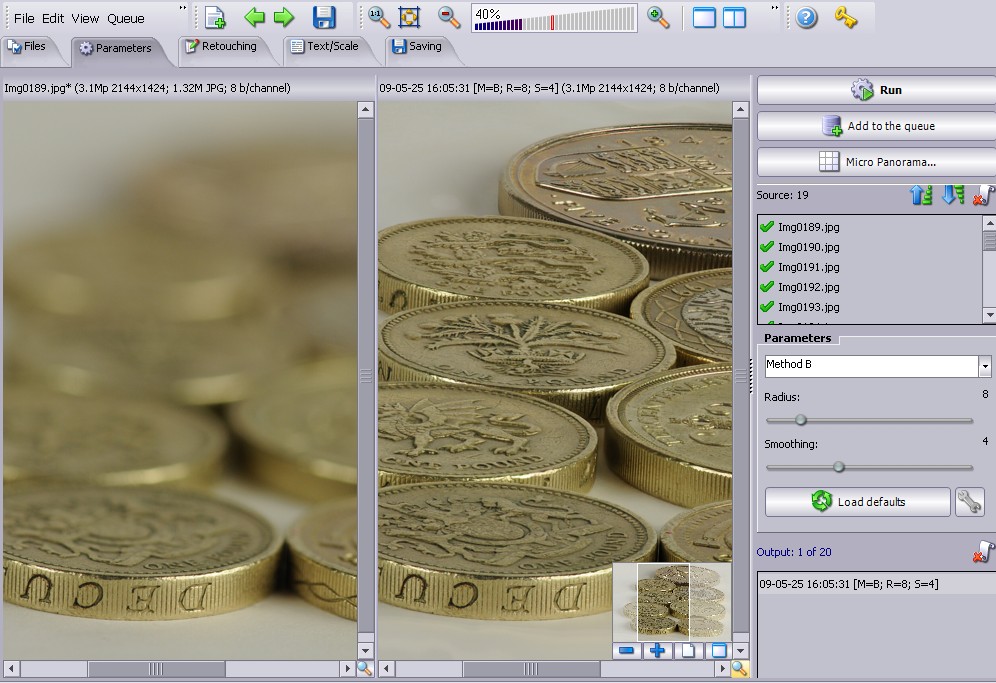
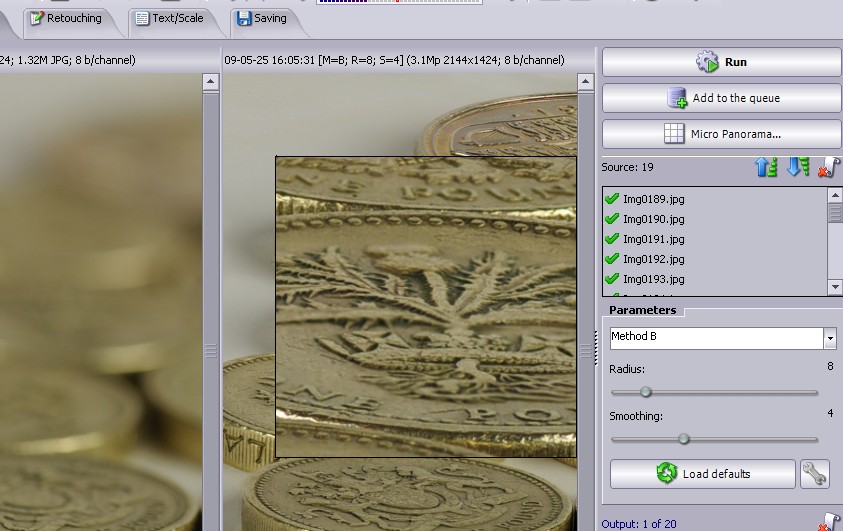
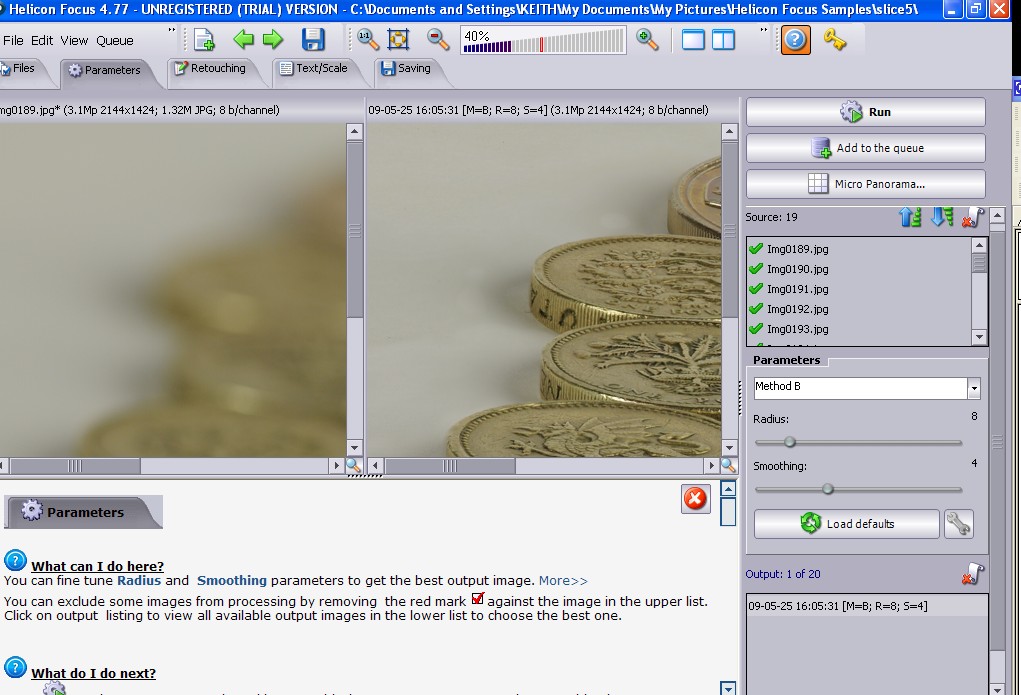
Article What we can do with Helicon FocusHelicon Focus is clever pieces of software, that is available in a number of versions. Its principle use is in combining together images, I call them slices, into a stack and taking the sharpest parts out of each. All versions, including the lite version, will allow you to stack up an unlimited number of slices, and combine these to produce an image sharp through its full range. You can use just the default settings or have a variety of options. The image below shows the split screen display when it has created an image where the individual slices can be viewed on the left and the result on the right.
Running through some of the displays - click on the small screen images to see a copy of the screen full size in new browser window.
Other features include the ability to create and use a dust map to output stacks and depth maps, and a lot more options Within the 3D modelling and image capture from this in many formats as well as the exporting of 3D models. I hope to come back to look at the 3D side in more detail later. Getting your copy, licensing and stability You start by downloading the FREE shareware
version from www.heliconsoft.com/,
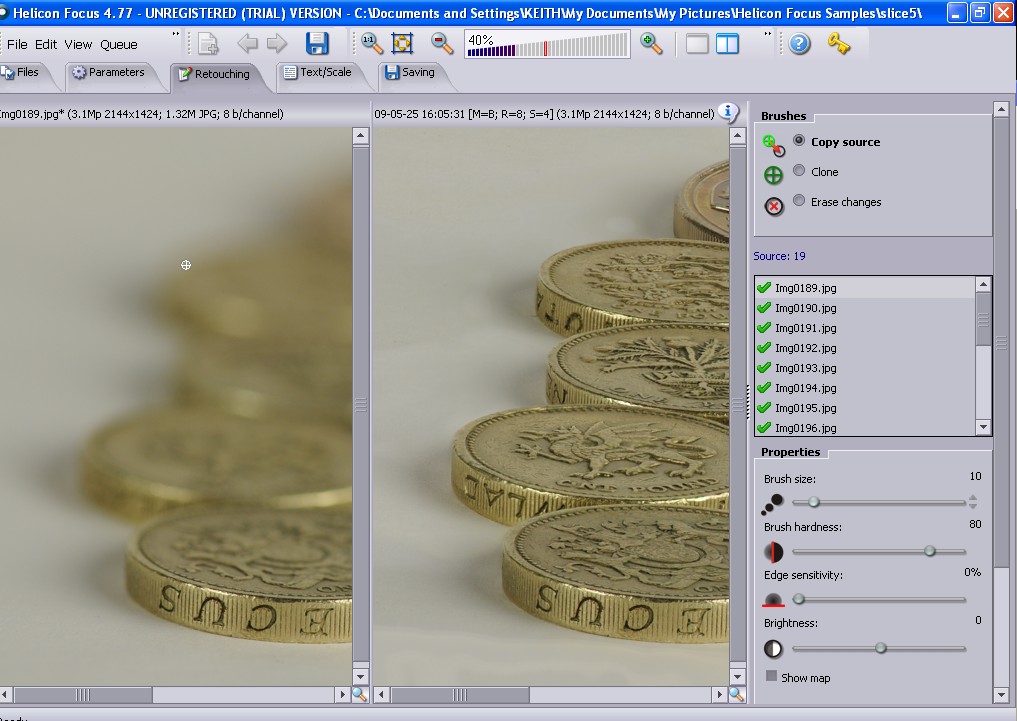
There are versions for Windows and for the the Mac. If you want to go on using it after the 30 day trial you need to select an option and licence. For each there are 4 available versions, Lite, Pro, ProX64 and Pro Multiprocessor, and for each of these two licensing options, an annual license and unlimited licence with free updates. Beyond this it can also be bundled with Helicon Filter and Helicon Photo safe. The lite version on a yearly licence is $30 (about £20) a year, and includes all the facilities that most photographers are likely to routinely use. The exception that would be nice on occasions is perhaps the clone/retouching facility that is in the Pro version up. Other additions in the Pro version include, you can export a 3D model, and a 3D viewer, batch mode processing, you can export animated stacks, this is the facility we used to show what is happening and accessible from each of our pages with sets of slices, and an ability to produce 2D micro panoramas. If you are a Mac user check out which of these additional facilities are available to you. All versions read RAW, 8bit and 16bit TIFFs, JPEG, JPEG 2000, BMP and more and can write the output in 8bit and 16bit TIFFs, JPEG, JPEG 2000, BMP. All versions will run as stand alone programs, and from the Pro version up can be run from within full versions of Photoshop (not Elements) as well, although in the lite version (and all others) is says it provides command line interface to call it from other applications, but I haven't yet investigated this. The main software is stable, it hasn't crashed at all while we have been playing with it. The only problem I have had is with a full screen preview, that locks up on my computer, but I suspect this is because I have a multi screen setup with a non standard video board. Pressing the Windows start key allows me to get back enough control to shut down this mode. How you use this to start Before you process your own slices, take a
look at the set of slices that comes with Helicon Focus when it is installed
and also take a look at the sets we have provided as a part of the
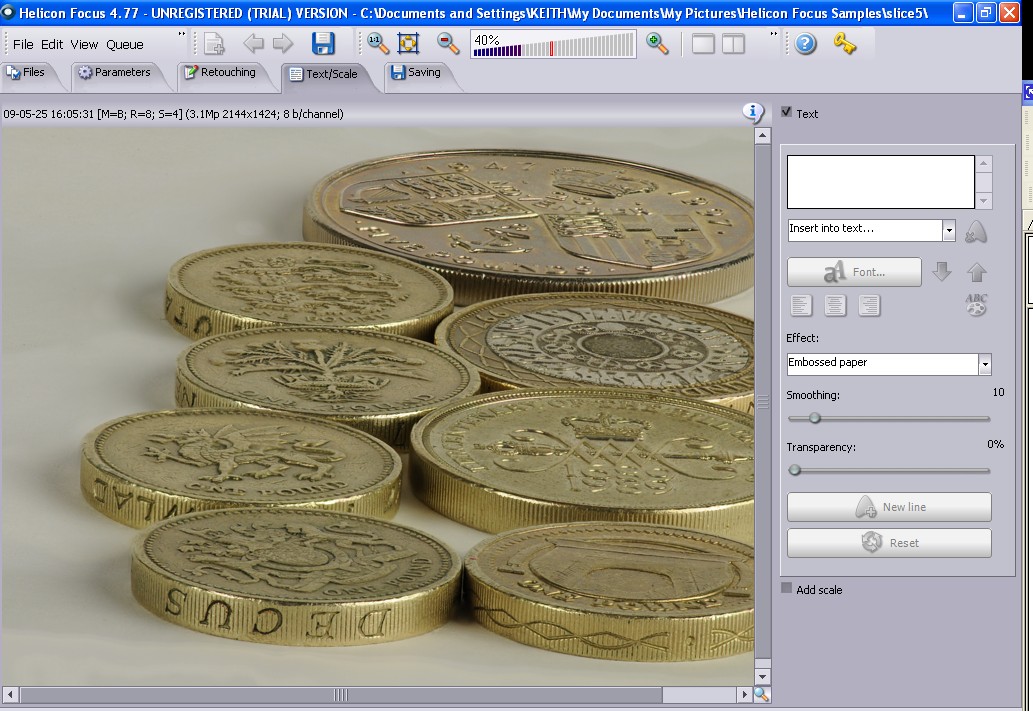
Depth of field magic To apply this to your own photography, you start by shooting a collection of slices, photographs that are identical except that they are focused at different points through the image. I suggest to start that you always do this from front to back, so focusing on the nearest part you want to be sharp, then stepping the focus back a bit at a time until you get to the most distant. With macro and near items keep the steps about the same, while with landscapes and the like you can increase the distance between with each step. Label your images in a way that they naturally sort front to back. Then using the program, from the first tab (files), point at the directory you have your images in, use right mouse and select all, then press run. This will produce an image with the default settings. You can refine this further and rerun, however in many cases you won't have to. All of the images shown in the projects, Coins, chips and Red Flower were created using the default settings. Trying this will not take very long and you should have the program installed, run our exercises, and our own first slices through this and be delighted with the results in half a day at most. So you then have 29.5 more days to play with this and see what else you can do, plus decide if you want to use it longer term. Essential links
Publishers website and where you can download
a 30 day free trial version (shareware)
First project to get you started Depth of field magic.
|
||||||||||||||||||
|
||||||||||||||||||
| . | ||||||||||||||||||
|
||||||||||||||||||
|
|